
Monday, August 24, 2009, 06:23 PM - Servicing
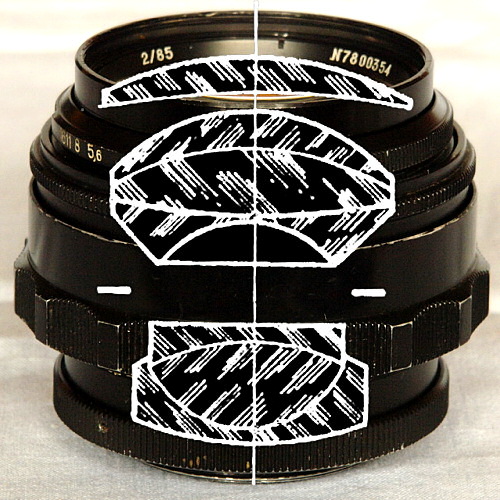
Here is a partial repair guide for Jupiter 9 lenses. Unfortunately I was not able to fully dismantle it, as several screws broke when trying to use them.This lens optical schema is made of 7 elements in 3 groups. The diaphragm is located between the two triplets.
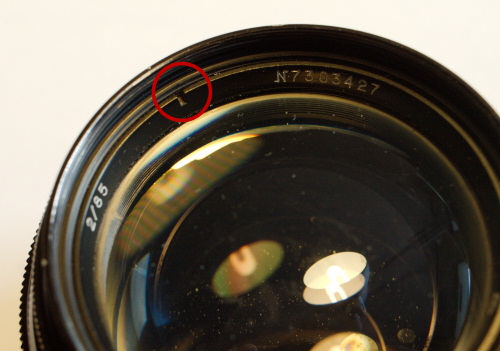
The front element can be accessed by unscrewing the front ring using a spanner:
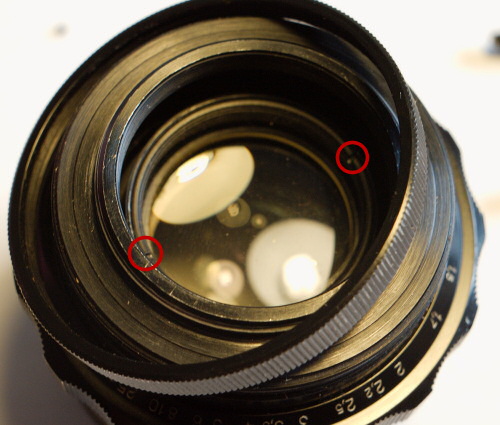
The rear group can be unscrewed in a similar way, but it can not be directly removed from the lens barrel. However, if you set the lens to it minimum focus distance, you will be able to move the rear group inside the barrel. If you are very careful, that might be enough to allow you to clean it or the aperture blades.
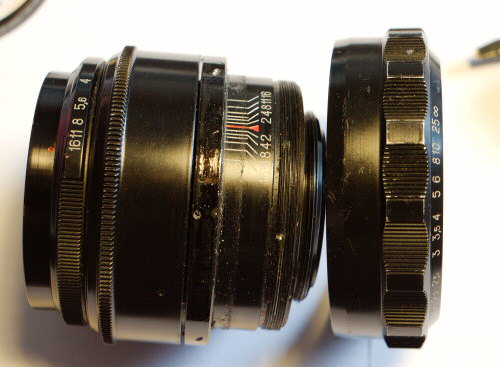
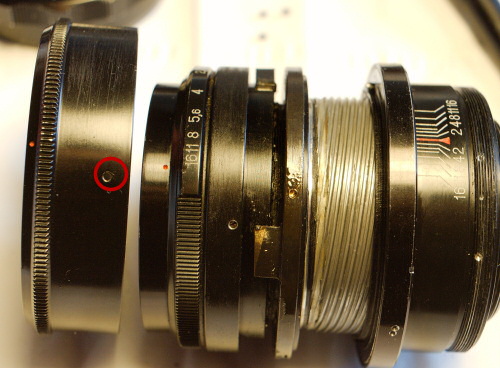
Remove the rear ring by removing the side screw and unscrewing the ring:
You can now remove the focus ring:
That should be enough to allow you to access the focusing helicoid, by setting the lens to its minimal focus distance.
Now, remove the diaphragm ring:
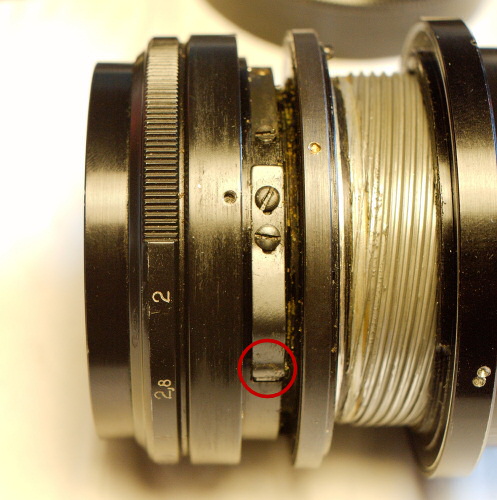
From there, you can access the clicking mechanism of the preset aperture. If your aperture preset ring doesn't click properly, you might need to clean this small cylinder, or re-shape the metal part that sits on top of it.
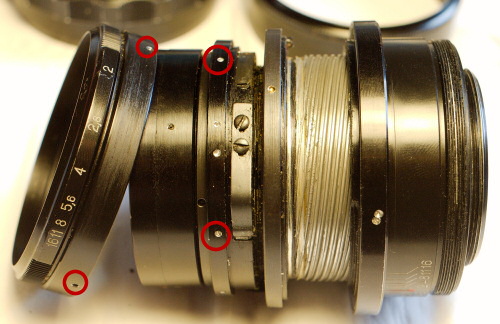
You can now remove the aperture selection ring:
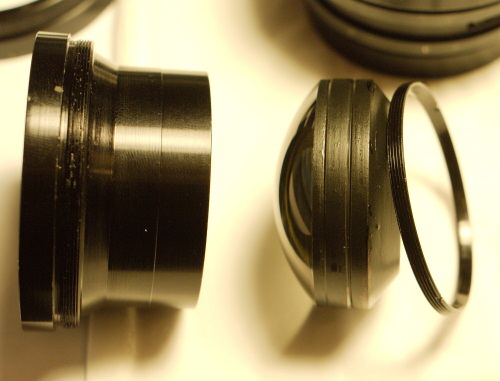
This allows you to remove the front part of the lens, which includes the front element and the front triplet. The front triplet can be removed by unscrewing this rear ring (using a spanner):
Comments are not available for this entry.
 Calendar


