
Monday, August 24, 2009, 06:23 PM - Servicing
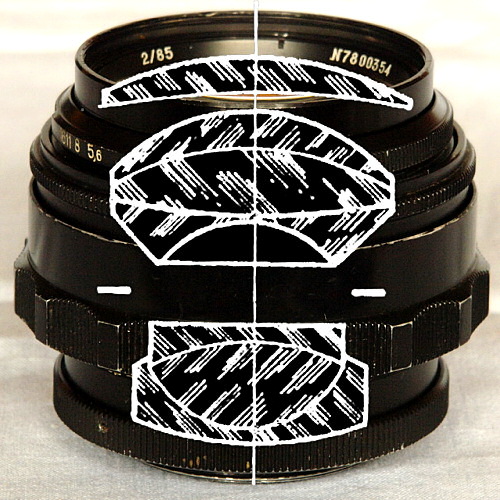
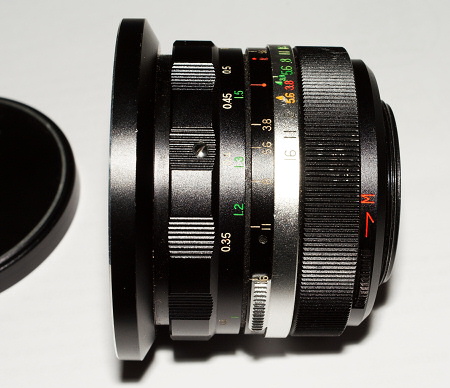
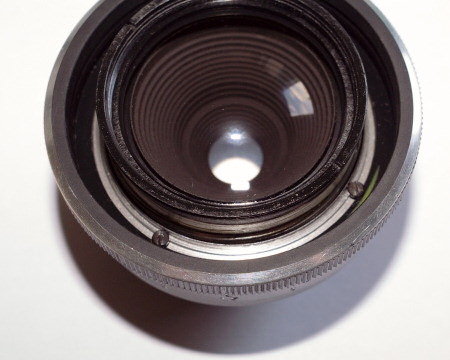
Here is a partial repair guide for Jupiter 9 lenses. Unfortunately I was not able to fully dismantle it, as several screws broke when trying to use them.This lens optical schema is made of 7 elements in 3 groups. The diaphragm is located between the two triplets.
The front element can be accessed by unscrewing the front ring using a spanner:
The rear group can be unscrewed in a similar way, but it can not be directly removed from the lens barrel. However, if you set the lens to it minimum focus distance, you will be able to move the rear group inside the barrel. If you are very careful, that might be enough to allow you to clean it or the aperture blades.
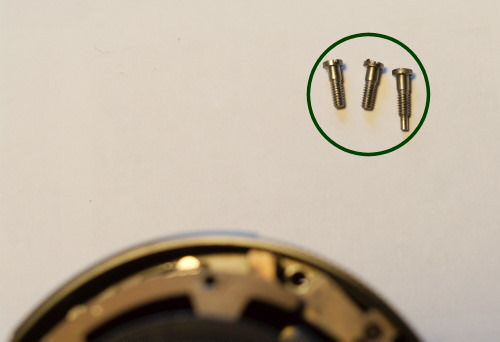
Remove the rear ring by removing the side screw and unscrewing the ring:
You can now remove the focus ring:
That should be enough to allow you to access the focusing helicoid, by setting the lens to its minimal focus distance.
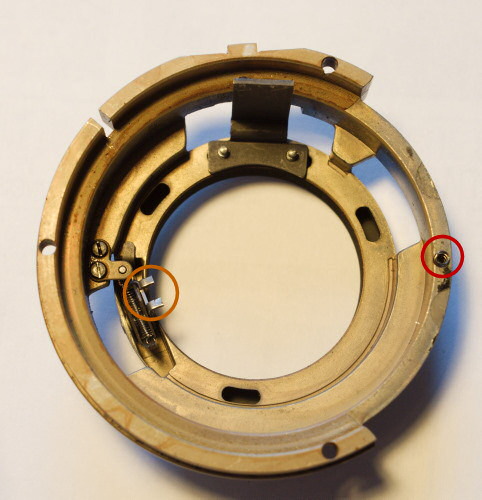
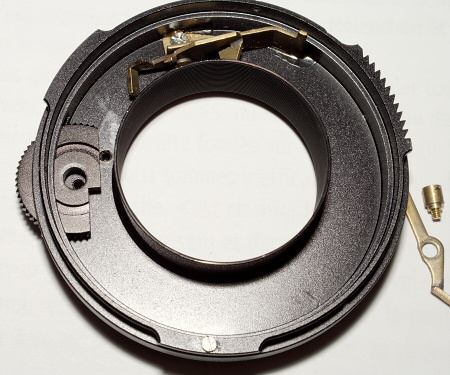
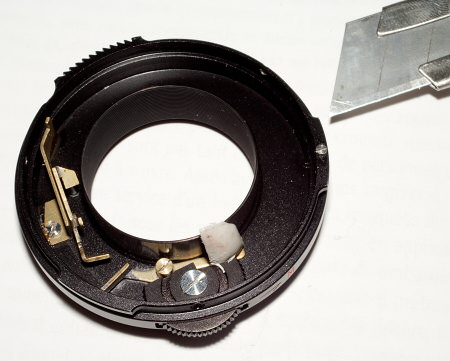
Now, remove the diaphragm ring:
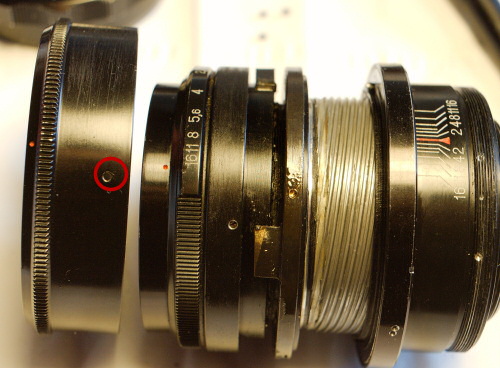
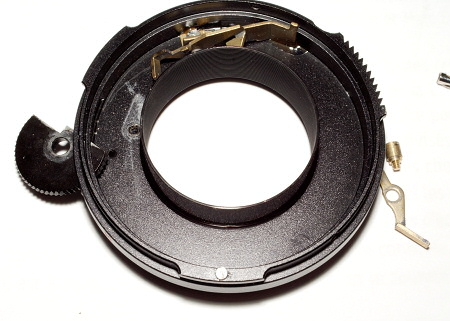
From there, you can access the clicking mechanism of the preset aperture. If your aperture preset ring doesn't click properly, you might need to clean this small cylinder, or re-shape the metal part that sits on top of it.
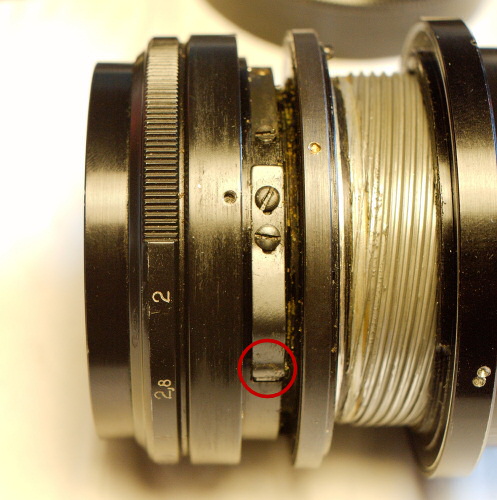
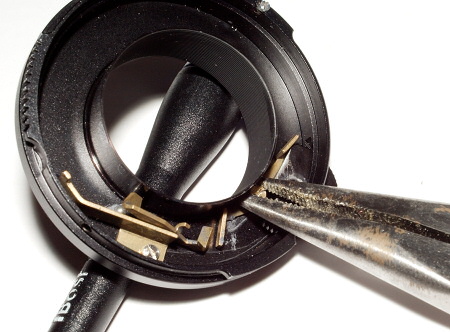
You can now remove the aperture selection ring:
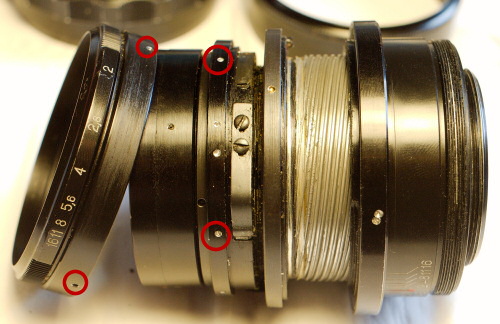
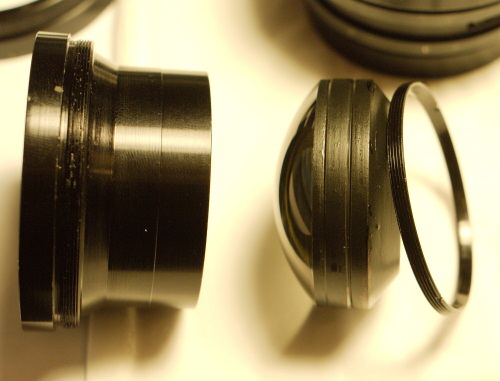
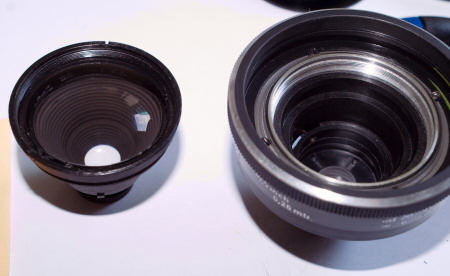
This allows you to remove the front part of the lens, which includes the front element and the front triplet. The front triplet can be removed by unscrewing this rear ring (using a spanner):
| 0 trackbacks
| permalink
| related link
Wednesday, July 29, 2009, 12:05 PM - Servicing
This is an 50/1.8 M42 planar lens, designed by Carl Zeiss (Oberkochen, not Jena) and built by Rollei in Singapore.This one is branded as Ifbagon, but it is also available under the "Rollei - Design by Carl Zeiss" and "Voigtländer Color-Ultron" labels.
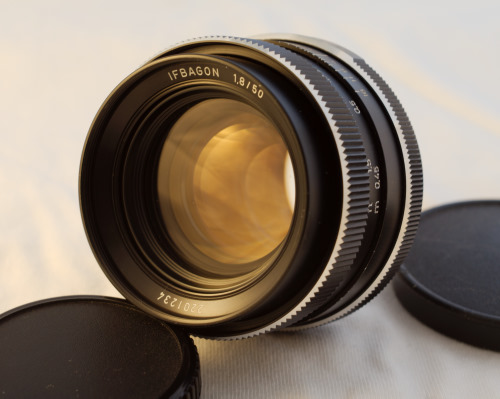
As its aperture is only designed to work in automatic stop down mode, it needs to be converted into manual mode to be usable on non-m42 cameras with an adapter.
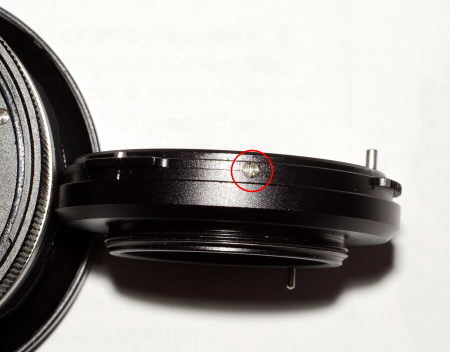
First, set your lens to infinity and remove the four rear screws...
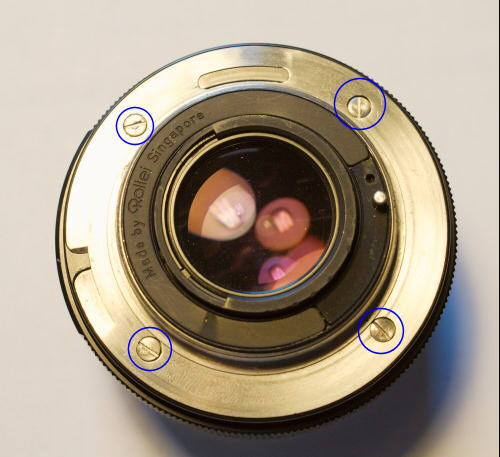
...and remove the mount.
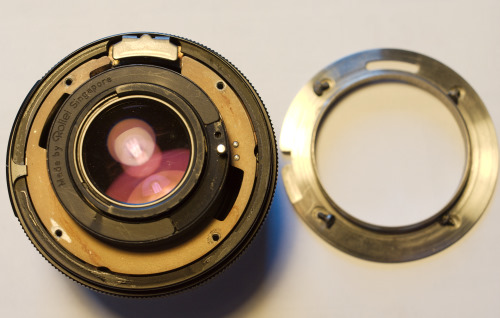
Remove the outer black ring, and you can now remove those three screws:
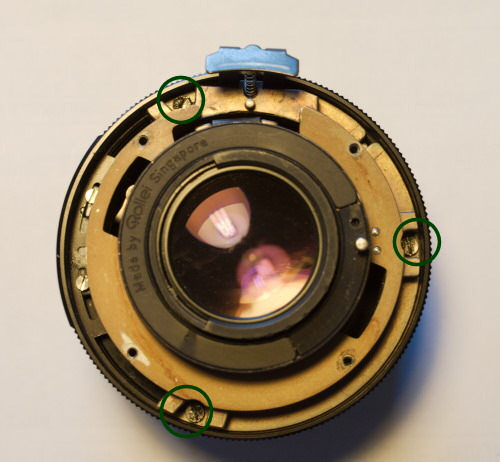
One of those screw is longer than the other ones, as it acts as a stopper for the focusing mechanism. It is the one which goes on the bottom.
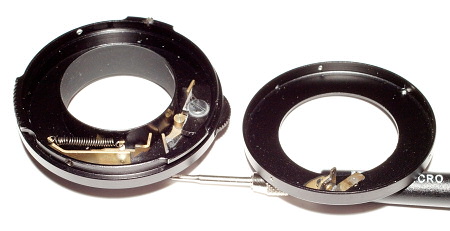
Here you can see the aperture transmission mechanism, which you should now remove.
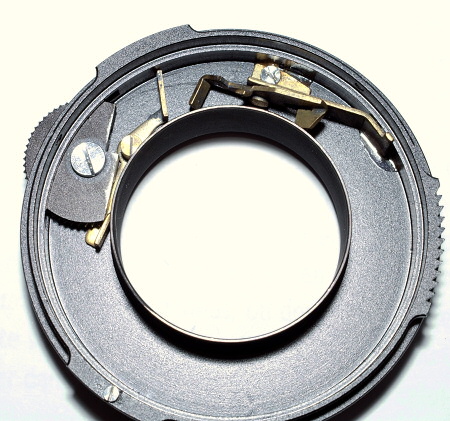
The small cam is slightly asymmetric, so you can only put it back in one way.
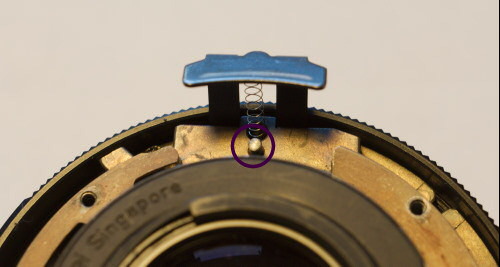
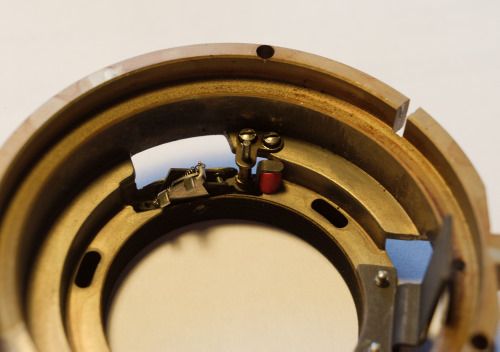
Remove yet another ring in order to see the aperture mechanism.
Beware not to loose the small bearing and the spring which should be pressed on it.
The vertical cam of the diaphragm goes within the "fork" on the part we just removed. You can only put it back if the lens is focused at infinity.
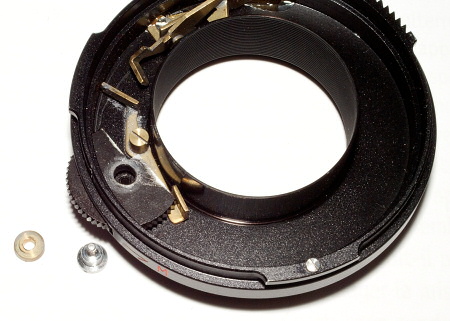
You can now lock the aperture into manual position. I used a piece of insulator from an electric wire.
You should now be able to put everything back. If for any reason you goofed up by unscrewing the focusing helicoid, you can easily adjust infinity from the front of the lens.
Unscrew the front black ring, and you can access the three screws that will allow you to properly restore infinity setting.
Saturday, March 14, 2009, 08:24 PM - Servicing
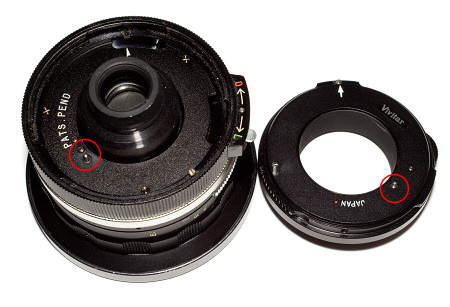
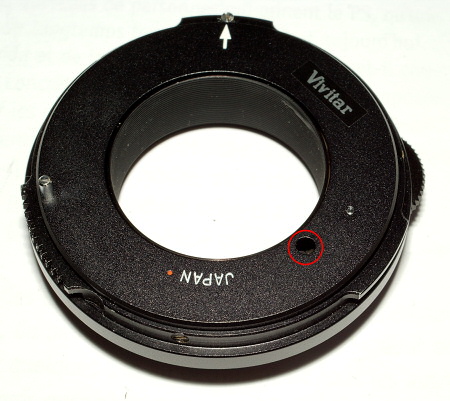
There are some interesting lenses available from under the Vivitar and Soligor brands using the T4 mount. Adapters are available for several mounts, including m42, which can then be used on various modern cameras.However, there is a small issue: if your m42 adapter is not pushing the rear diaphragm pin, you will have to use the M/A switch on the side of the adapter. This would not be an issue if it could be locked either into Manual or Auto position, but the switch on the T4 to m42 adapter is spring loaded, so you have to hold it in order to close the diaphragm.
The "M" switch at the rear of the lens (on the T4 to m42 adapter)
First, here is now to know that a lens is a T4 (or TX) lens: there is a double aperture scale (it goes on both directions), and the lens features a O/L (Open/Lock) locking mechanism for the mount adapter which protrudes from the lens.
Now, we are going to find a way to keep the diaphragm closed without having to hold the "M" switch.
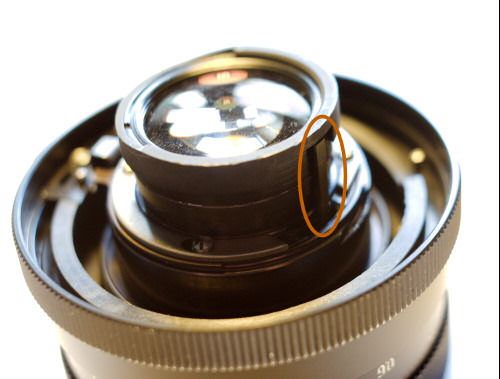
Remove the T4 adapter from the lens:
On the lens, we can see the pin which actuates the aperture: when it is pushed by the mount adapter, the diaphragm is opened, and closed otherwise.
Open the adapter by removing the side screws:
Here is the opened adapter:
Remove the spring:
This is enough to keep the aperture closed when the adapter is put back onto the lens, but now the cams are freely moving inside the adapter.
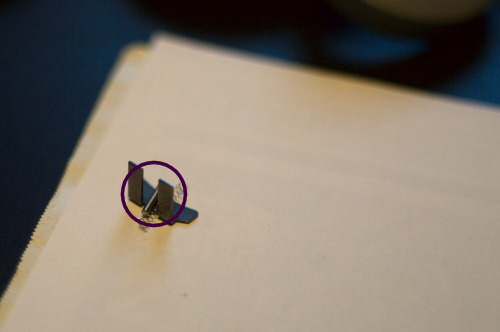
We are going to try mounting the M switch in reversed position. As it is asymmetric, that should be enough the prevent it from moving.
Remove the axis:
(the silver part is from the top, and the golden part is from under)
Now, remove this other axis:
We are now able to remove the M switch:
And put it back, but in reversed position:
Unfortunately, it is only at this stage that I noticed that this was NOT enough to keep the M switch in the right position and prevent it from moving.
So let's put a piece of rubber (cut from an eraser) there in order to lock it:
We can now put the spring back, and close the adapter. The part which was previously pushing the diaphragm pin in the lens (this opening the diaphragm) is now recessed:
Of course, now I know that it would have been easier to just open the adapter and lock the cam with the piece of rubber, without any need to remove the spring or revert the M switch.
Saturday, September 27, 2008, 06:34 PM - Servicing
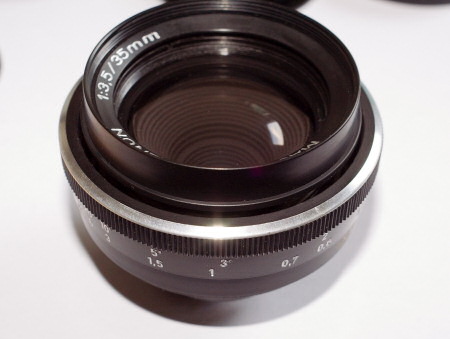
Here is a repair guide for this m42 lens: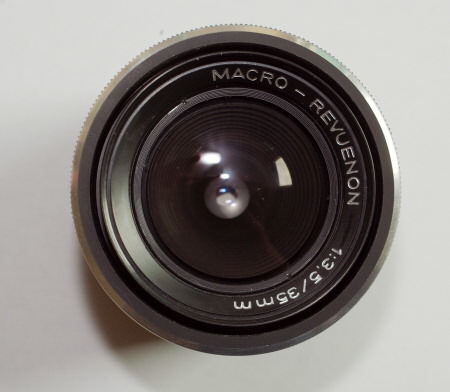
Even if "macro" is mentioned, this is not a macro lens. At best it is a close-up lens, but not macro. It is obviously designed to be really cheap to manufacture, as the body is entirely made of cheap plastic, except 7 screws and the diaphragm blades (the whole lens weights only 130g). It is a preset lens, in order to save a bit of money on the manufacturing (no need for any mechanical linkage).
As Revuenon did not produced lenses, this one is available under several different brandings.
First, remove the 4 rear screws:
Remove the rear part, and you should now see this :
Surprise! There is yet another mount thread. The first ring we removed is in fact a T to m42 adapter, and the lens is indeed a T mount lens (probably in order to easily be sold for different mounts).
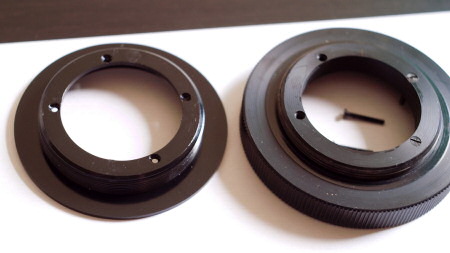
Remove the rear ring.
The two rear rings that we removed :
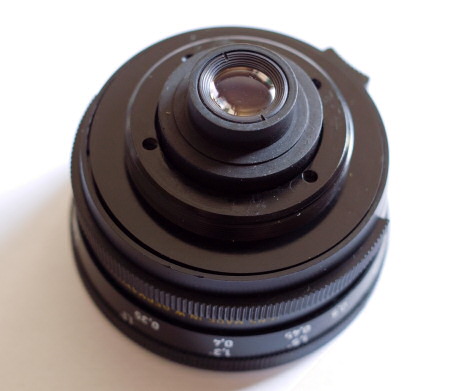
Remove another rear ring, and you will see this :
Once again, remove the rear ring, up to this step:

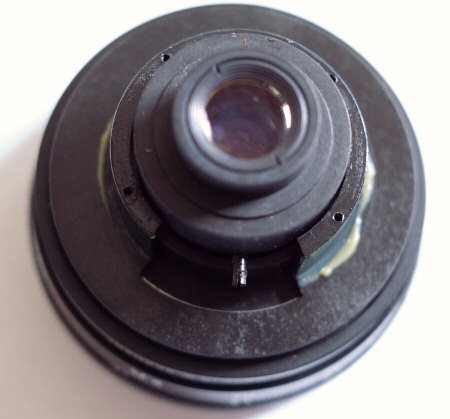
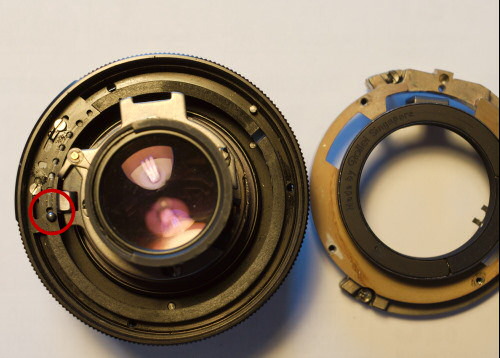
Now, let's start to remove optical elements. Remove the rear ring (using a lens spanner or a similar tool) and the rear optical element.
Rear optical element :
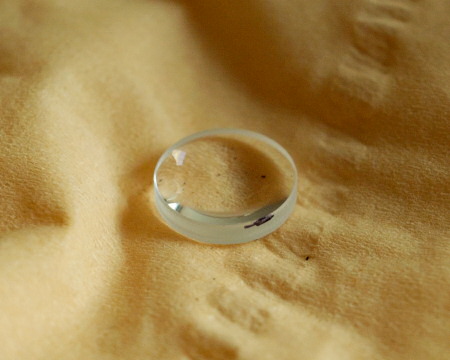 Dont"
Dont"I've put a soft pencil mark on the side of the glass element, toward the front, in order to remember which side goes front when remounting the lens. Usually, each time I remove an optical element, I do this.
Lens body with the rear element removed (rear ring on the right) :
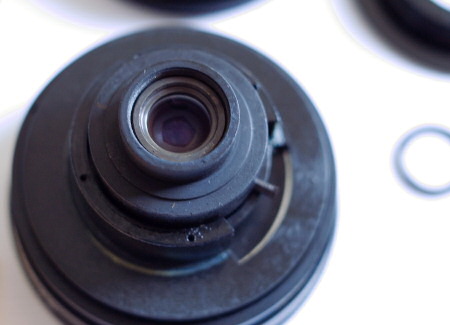
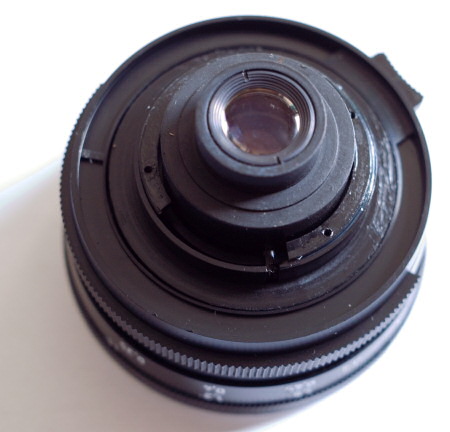
Remove another optical element from the rear :
Now, let's have a look at the lens body from the front side :
Unscrew the front ring :
Unscrew the center part from the body :
Don't think about removing the front optical element, as it is glued to conical plastic part.
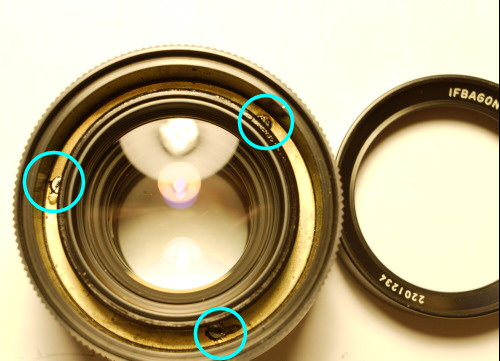
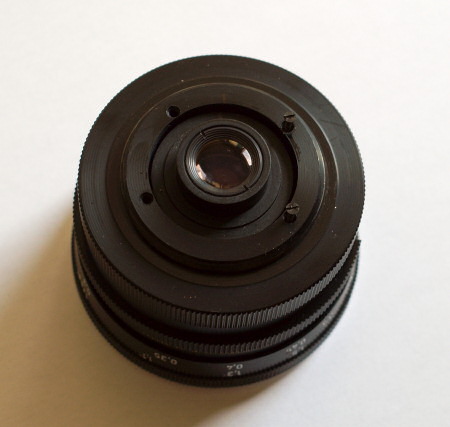
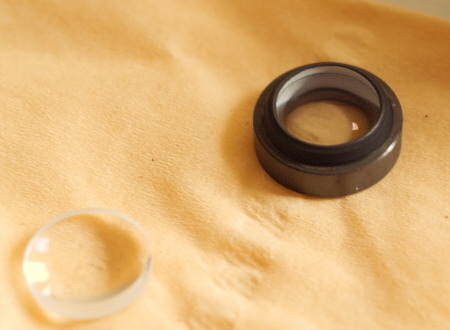
Under the conical element, there is one last ring which can be removed, and allows access to the last optical element (the one I wanted to clean) :
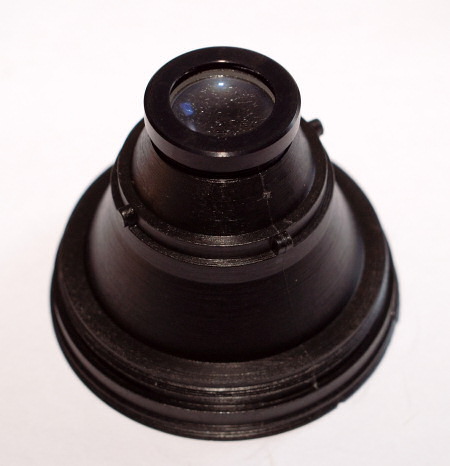
And here is it, we have removed nearly every possible part.
Next
 Calendar


