Wednesday, August 27, 2008, 08:08 PM - Servicing
I had this "Pentacon auto 50/1.8 multicoated" m42 lens lying in bad shape since a few monthes ago(front part going away from rear part). I finally toke some time to fix it, so here is my small repair guide.First, unscrew the front ring with the markings on it. It is just a plastic ring that is screwed (by the way, it looks really cheap compared to other parts). If you are lucky, you will be easily able to unscrew it, if not you will probably need to use a rubber ring or something similar to improve your grip while unscrewing it.
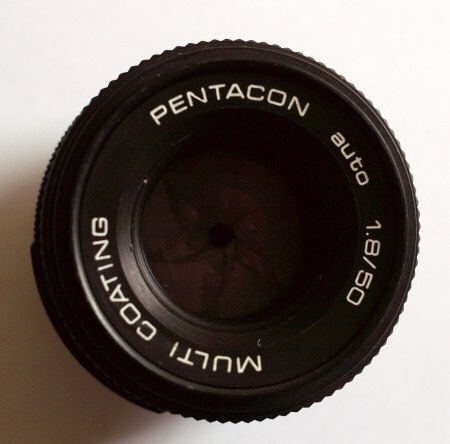
Now, remove the thin screw from the inner ring.
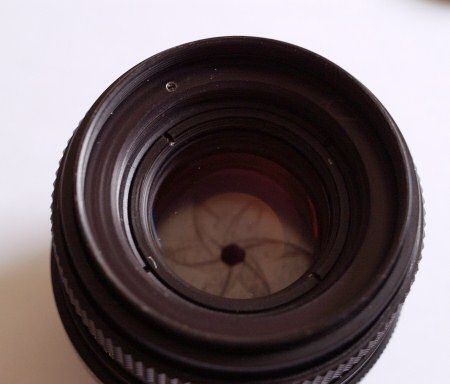
You can now unscrew the outer inner ring. I used some spanners, but you can probably also use some screwdrivers.
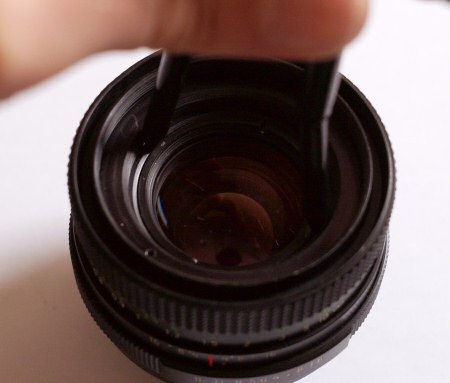
You can now access the front part of the optical elements, and unscrew them. If you unscrew the outer ring with the two tabs they will come in one single piece, if you unscrew the inner ring with the two tabs they will come into two pieces.
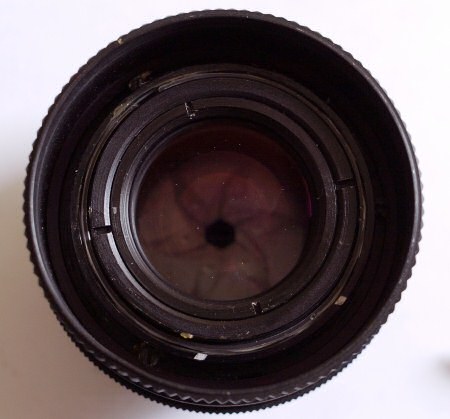
You can now see the front of the diaphragm.
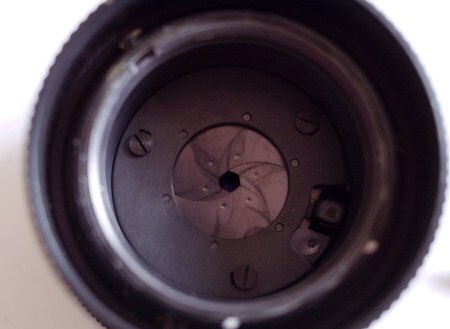
By the way, if you only need to adjust infinity focus, there is no need to remove any optical element. Once you removed the front rings, you should see three big screws. Those are used to adjust infinity (more about this in a few steps).
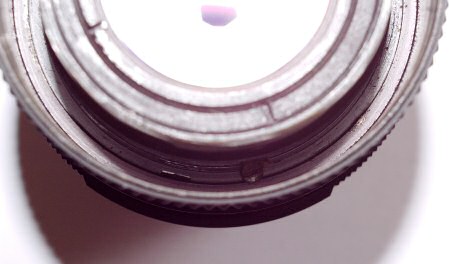
In my case, as the front part was loose, I had to go further. Now, let's look at the rear part. Remove the three rear screws, and you can remove the rear part (mount and aperture ring).
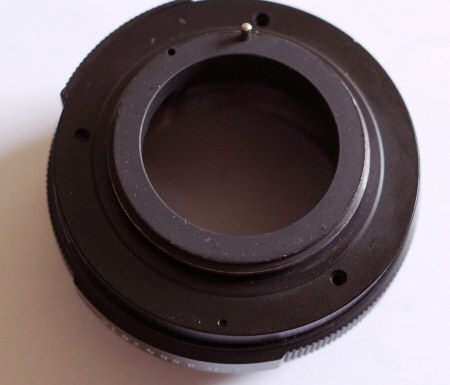
Unscrew the optical barrel, and you should now have this part:
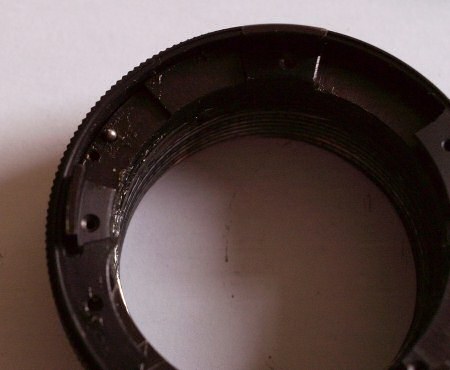
If your lens is in correct shape, you will perhaps not be able to remove the optical barrel yet because a metal cam is blocking it.
Beware not to loose the small bearing which is used for the M/A switch. I would suggest you to remove it and to only put it back when reassembling the lens.
Remove the two screws which hold the can.
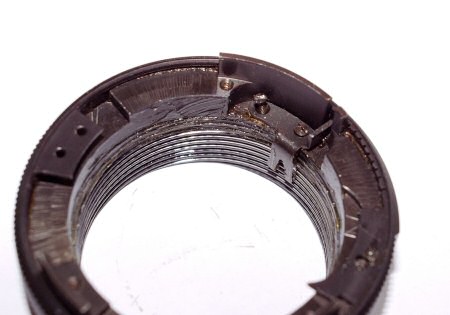
After removing this cam, you should be able to remove the optical barrel (if not yet done). If you need to replace the grease from the helicoid, it's the right time to do it. Under the cam, there is yet another bearing along with a small spring.
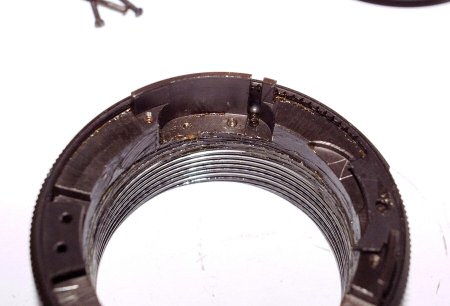
As with the previous one, I would suggest you to remove the bearing and to only put it back when doing the final reassembly of the lens. If you loose it, you will have a working but stepless aperture ring.
Reassembling is "just" a matter of putting everything back. The only thing that should take a bit of time is readjusting infitity focus.
A bit of explanation about this: when focusing toward infinity, the optical block goes toward the rear of the lens, and when focusing toward close distance the optical block goes toward the front of the lens. The optical block is held inside the helicoid by the metal cam we removed. When adjusting the focus, if you close focus but the optical block is not properly adjusted, if will move too far from the rear of the lens, and will go out of the cam. You will hear a small clicking noise when it goes out because it will also go out of the diaphragm cam. If this happen, your only solution is to remove again the back of the lens, remove the metal cam, and reassemble everything. That is why I would suggest you to only check infinity (by screwing the three focus adjustment screws, checking infinity, unscrewing the screws, move the focus ring a bit, re-screw the 3 screws, and so on), and only when the infinity focus is fine, you will then be able to focus to the near postion without any issue.
| 0 trackbacks
| permalink
| related link
Thursday, August 21, 2008, 04:20 PM - Audio coding
There is a lot of activity regarding AAC in FFMPEG since July.The AAC decoder from Summer Of Code (SOC) 2006 is now included within the official FFMPEG tree, after cleanups by Robert Swain. It an AAC-LC and AAC-Main profiles decoder, so it can not yet replace FAAD/FAAD2 as it doesn't decode SBR and PS (used within HE-AAC and HE-AACv2), but it's a good step in the right direction. There is also an SBR decoder in the work, so we will perhaps see this in a few months.
On the encoder side, Konstantin Shishkov has been working on an AAC-LC encoder this summer. While it is not yet competitive with the best AAC-LC encoders, it already provides a good features set, and best of all, it features a psychoacoustic model (it should be the first psychoacoustic model to hit FFMPEG). The psy model is inspired from the 3GPP model, which is a stripped down encoder from Coding Technologies, provided with some basic documentation of the algorithms.
Friday, July 25, 2008, 06:22 PM - Servicing
I received a Tamron SP 60-300 lens which is in need of cleaning (fungus and grease on lens elements).I did not yet had time to fully clean it, but here are the steps for a partial cleaning (front part of the lens).
Fold the top of the rubber grip:
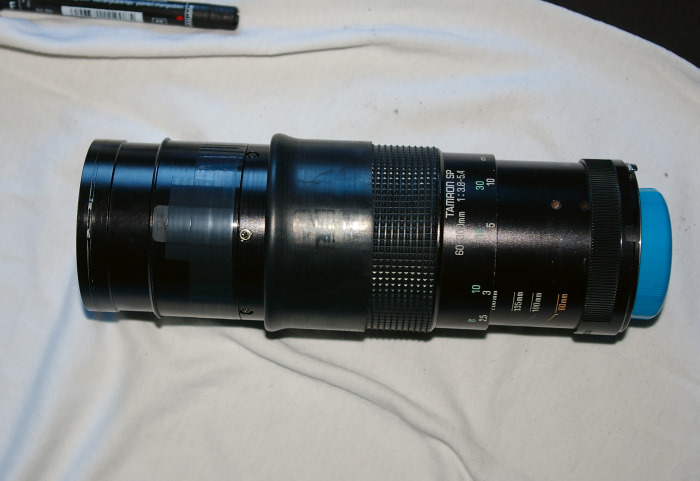
With a permanent marker, put some kind of mark over both tape and metal, so you could later know what was the original position of elements:
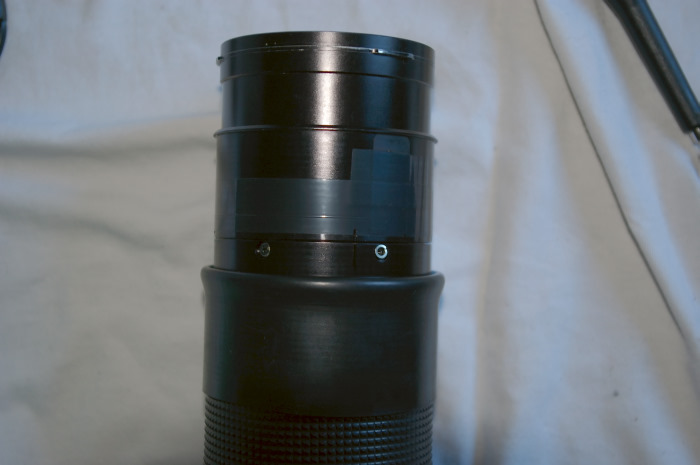
Remove screws:
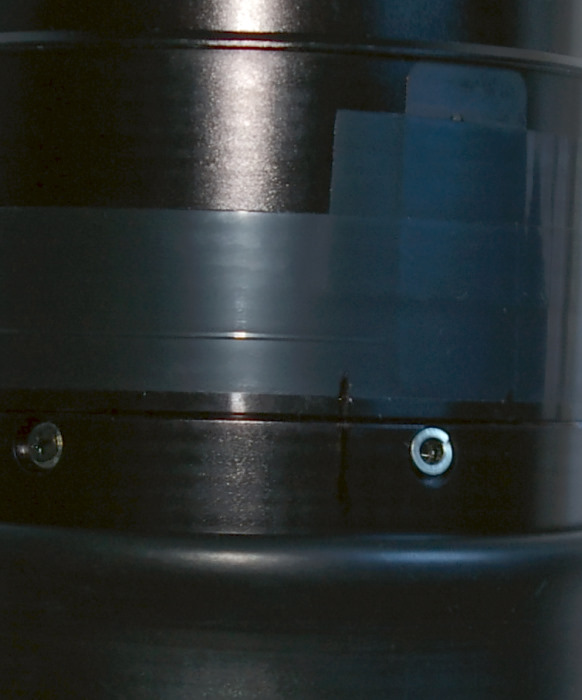
You are now able to slide down the zoom/focus ring:
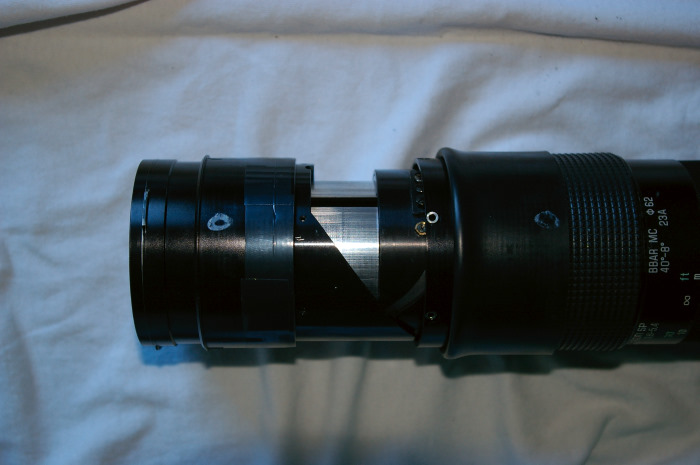
(actually, it appeared that unscrewing the zoom/focus ring was not needed for the cleaning I have done)
Carefully peel the adhesive tape:
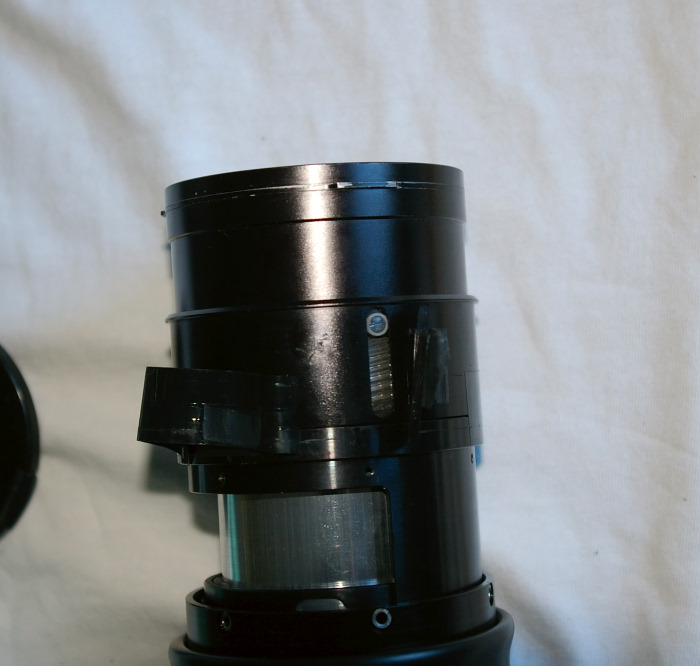
Unscrew the two new screws, and you are now able to remove the front part.
The lens now looks like this:
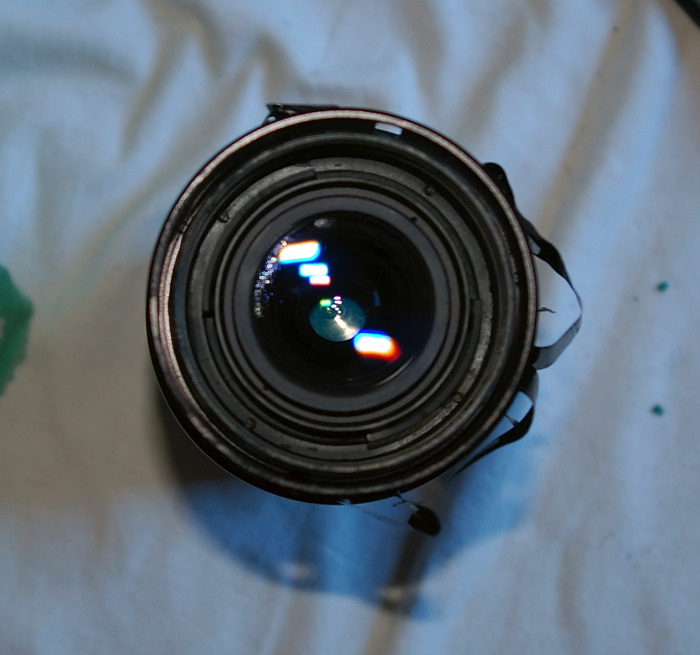
I was able to easily unscrew the central ring (the one just around the new apparent front glass element) and then this lens element can be removed to be cleaned. On my lens, what you see on the top left corner are some grease bubbles (now cleaned).
Tip: each time you remove an element, use a permanent marker to put a tiny mark on its side in order to know the front from the back side. It's really annoying when you remove a lens glass element, and after cleaning it you don't remember which side was up.
Tuesday, July 1, 2008, 08:57 PM - Web
By random browsing, I found a web optimization article about using sprites within CSS.Sprites are basically a set of small size graphics that were used a long time ago to simulate characters animation within video games. There was a predefined set of postures per character, and by alternating between them you could produce a "fake" animation.
Now, back on the CSS topic, the article explains how this old trick can be used to speed up web pages. It's obviously a hack, but quite an elegant one. Let's say you have a few arrows and icons you would want to display within a web page.
First, you put all of them within a single image, in this way:
(icons courtesy of ineversay.com)
Then you set the background of some element of your web page (table cell, list,...) to your sprite image, and using a combination of positioning you correctly set up your element to use the correct sprite (by using the "background-position" CSS property).
What do you save this way?
*A bit of bandwidth related to the graphics, as combined graphics are using less space than the sum of the individual graphic files (mainly because of the headers that would be repeated within each file)
*Most important, you reduce the number of individual http requests. That reduces the needed bandwidth, but also reduces the load of the http server.
This trick can also be used neatly for rollovers, using a single graphic instead of separate ones. Positioning is then even easier, as you could simply alternate background-position from left to right
a:link, a:visited {
	display: block;
	width: 127px;
 	height:25px;
	line-height: 25px;
	color: #000;
	text-decoration: none;
	background: #fc0 url(image-rolloverdual.png) no-repeat left top;
	text-indent: 25px;
}
a:hover {
	/* background: #c00; */
	background-position: right top;
	color: #fff;
}Back Next

 Calendar


